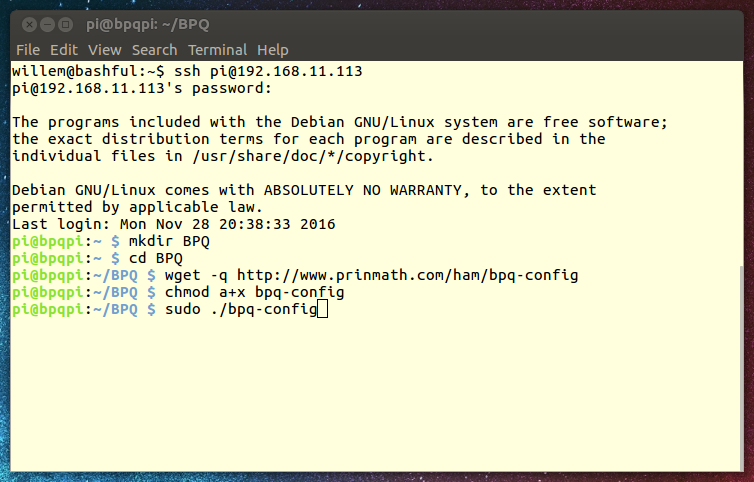
mkdir BPQ
cd BPQ
wget http://www.prinmath.com/ham/bpq-config
chmod a+x bpq-config
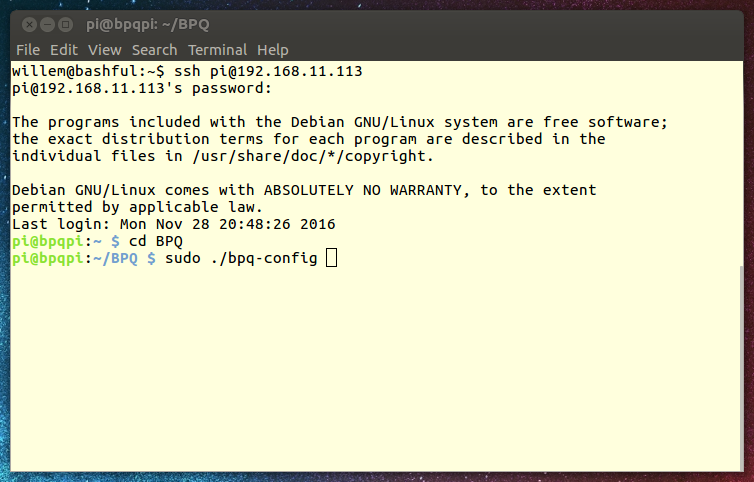
sudo ./bpq-config

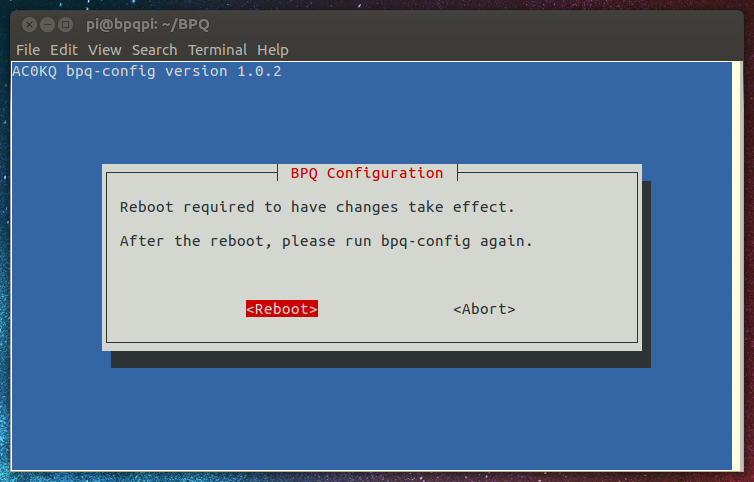
cd BPQ
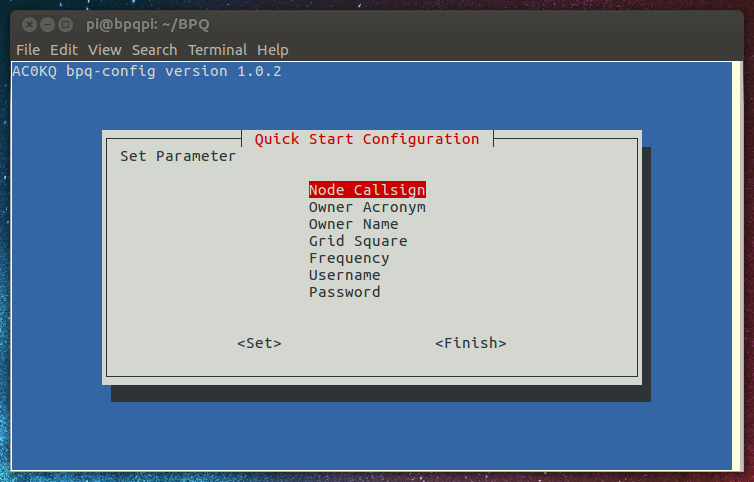
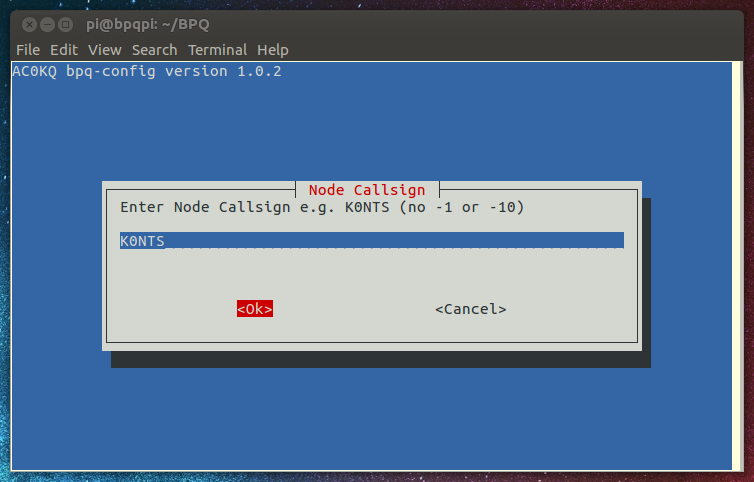
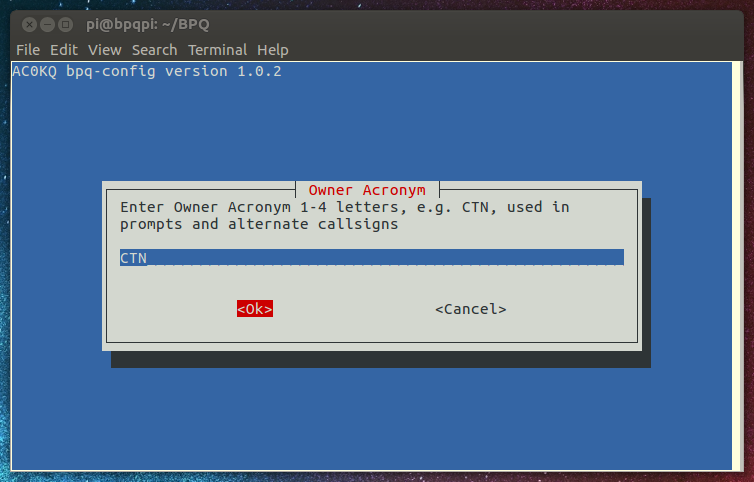
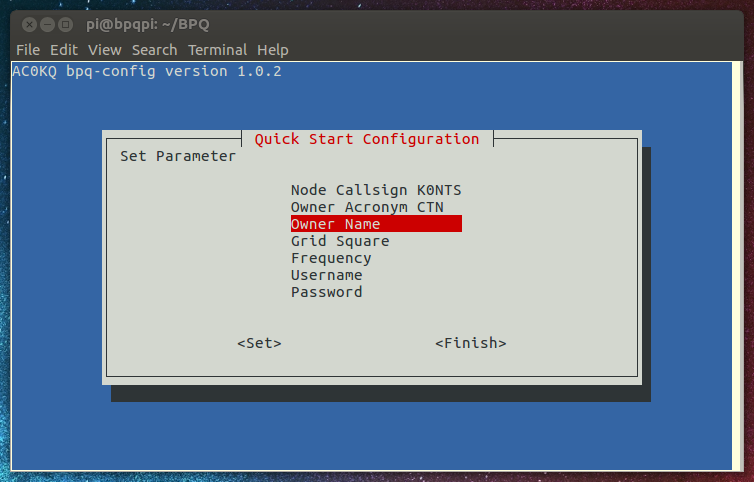
sudo ./bpq-config
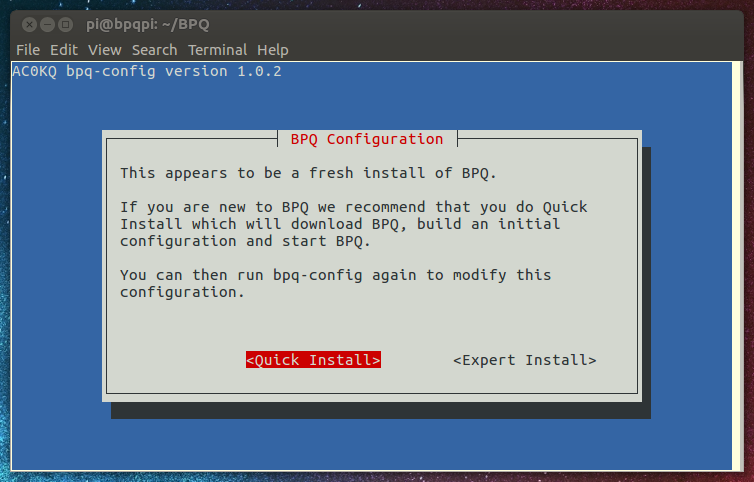


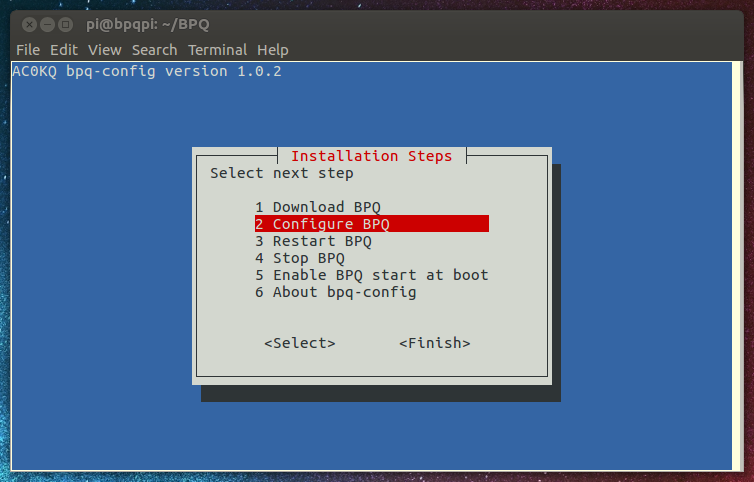
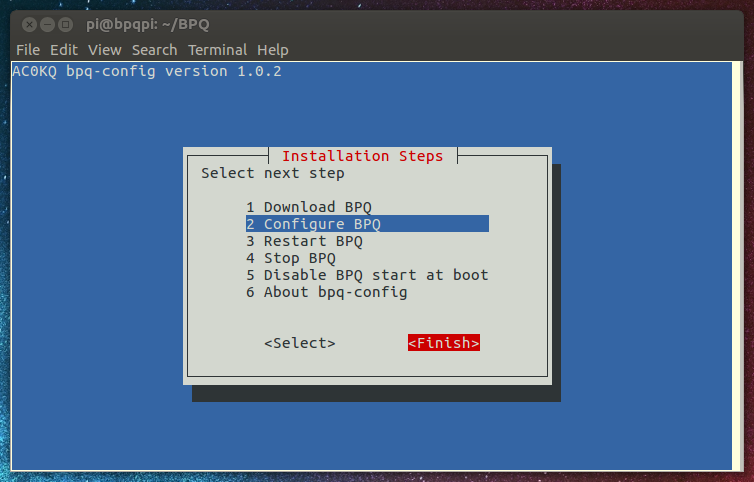
You can upgrade BPQ and bpq-config to the latest version by selecting Download BPQ. As BPQ continues to be developed, and bpq-config is certainly a work in progress, you should to that periodically.